The Horse60 custom mechanical keyboard
I started writing this blogpost about the end of summer of 2020, but for one reason or another, never got around to actually finishing it. It’s been quite a while since I’ve actually built this board, but I still wanted to write a piece on it. I think I’ll just treat this post as a very long retrospective. Anyways, enjoy!
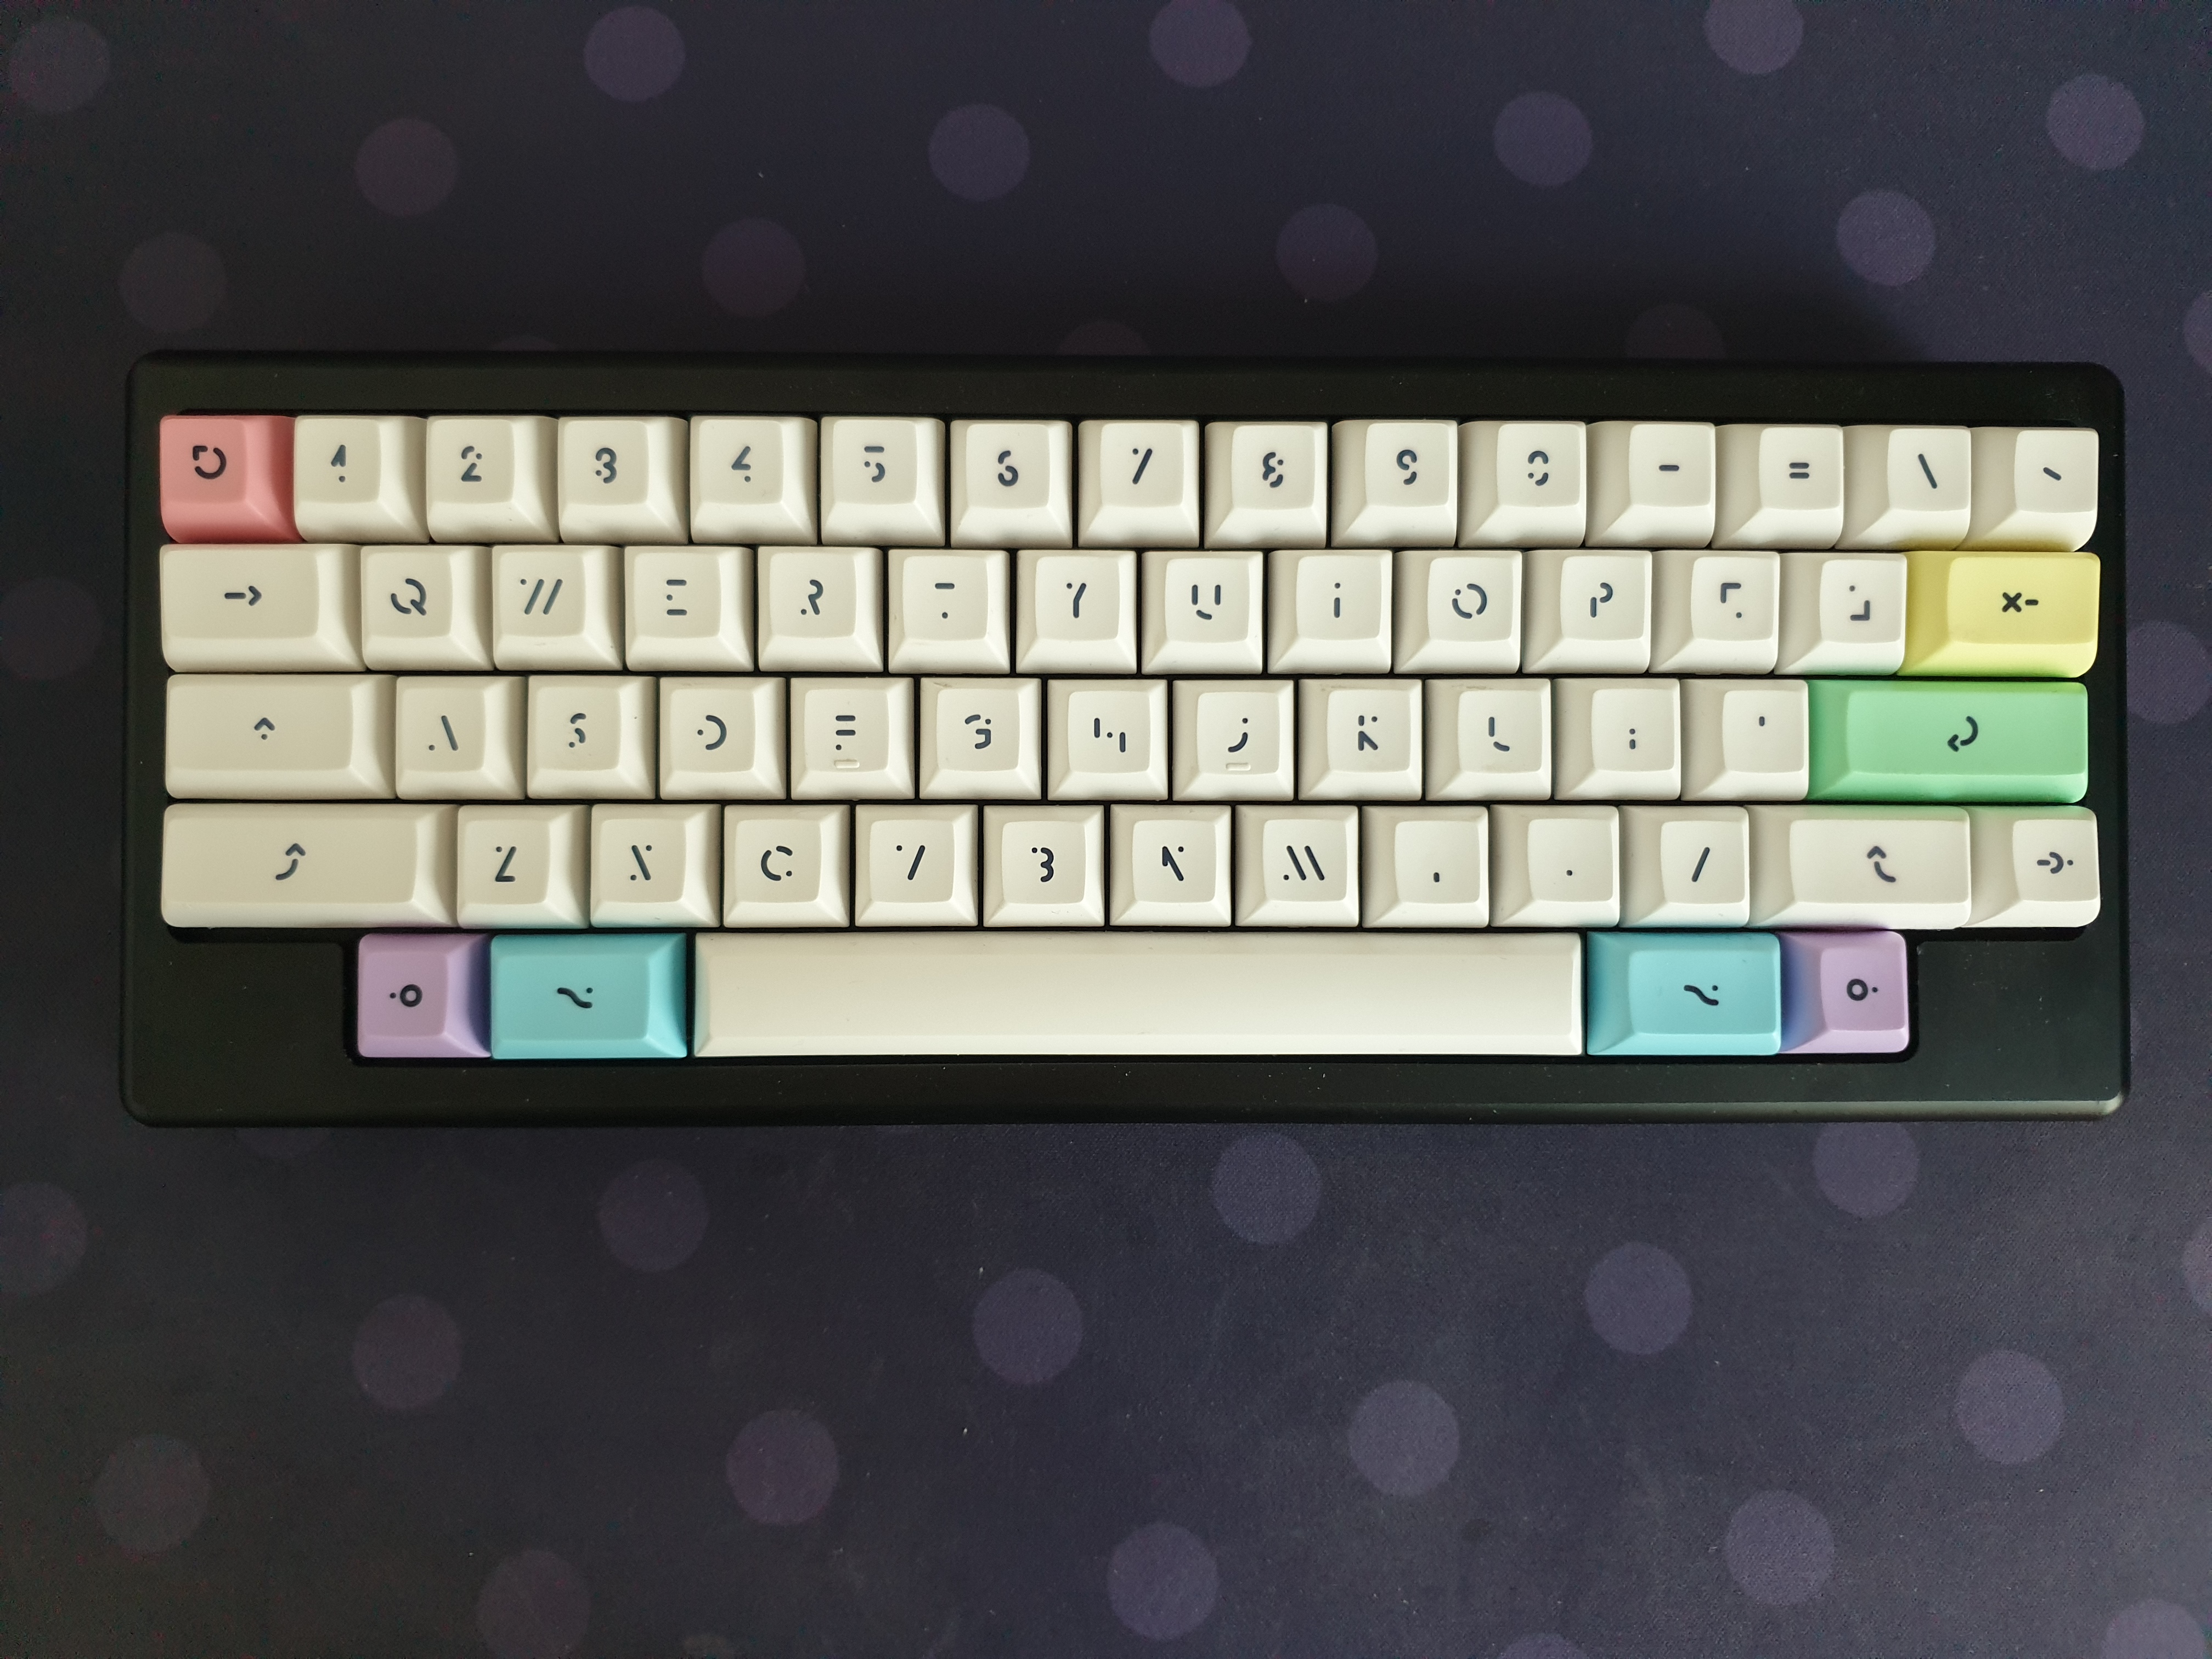
Pictures first.
Finally, some more exciting stuff to write about. More keyboard content, but this time, even more custom. After 2 months of planning and waiting for shipments, I’ve got my new keyboard. This time, with even more custom parts and soldering. Every and all mods that I could think of to make this board feel and sound the best at its price point was done, and I think it came out fantastic.
With that said, off to the blogpost.
Theme of the build: Trying new stuff
The entire concept of building this keyboard was based on wanting to try something new for once.
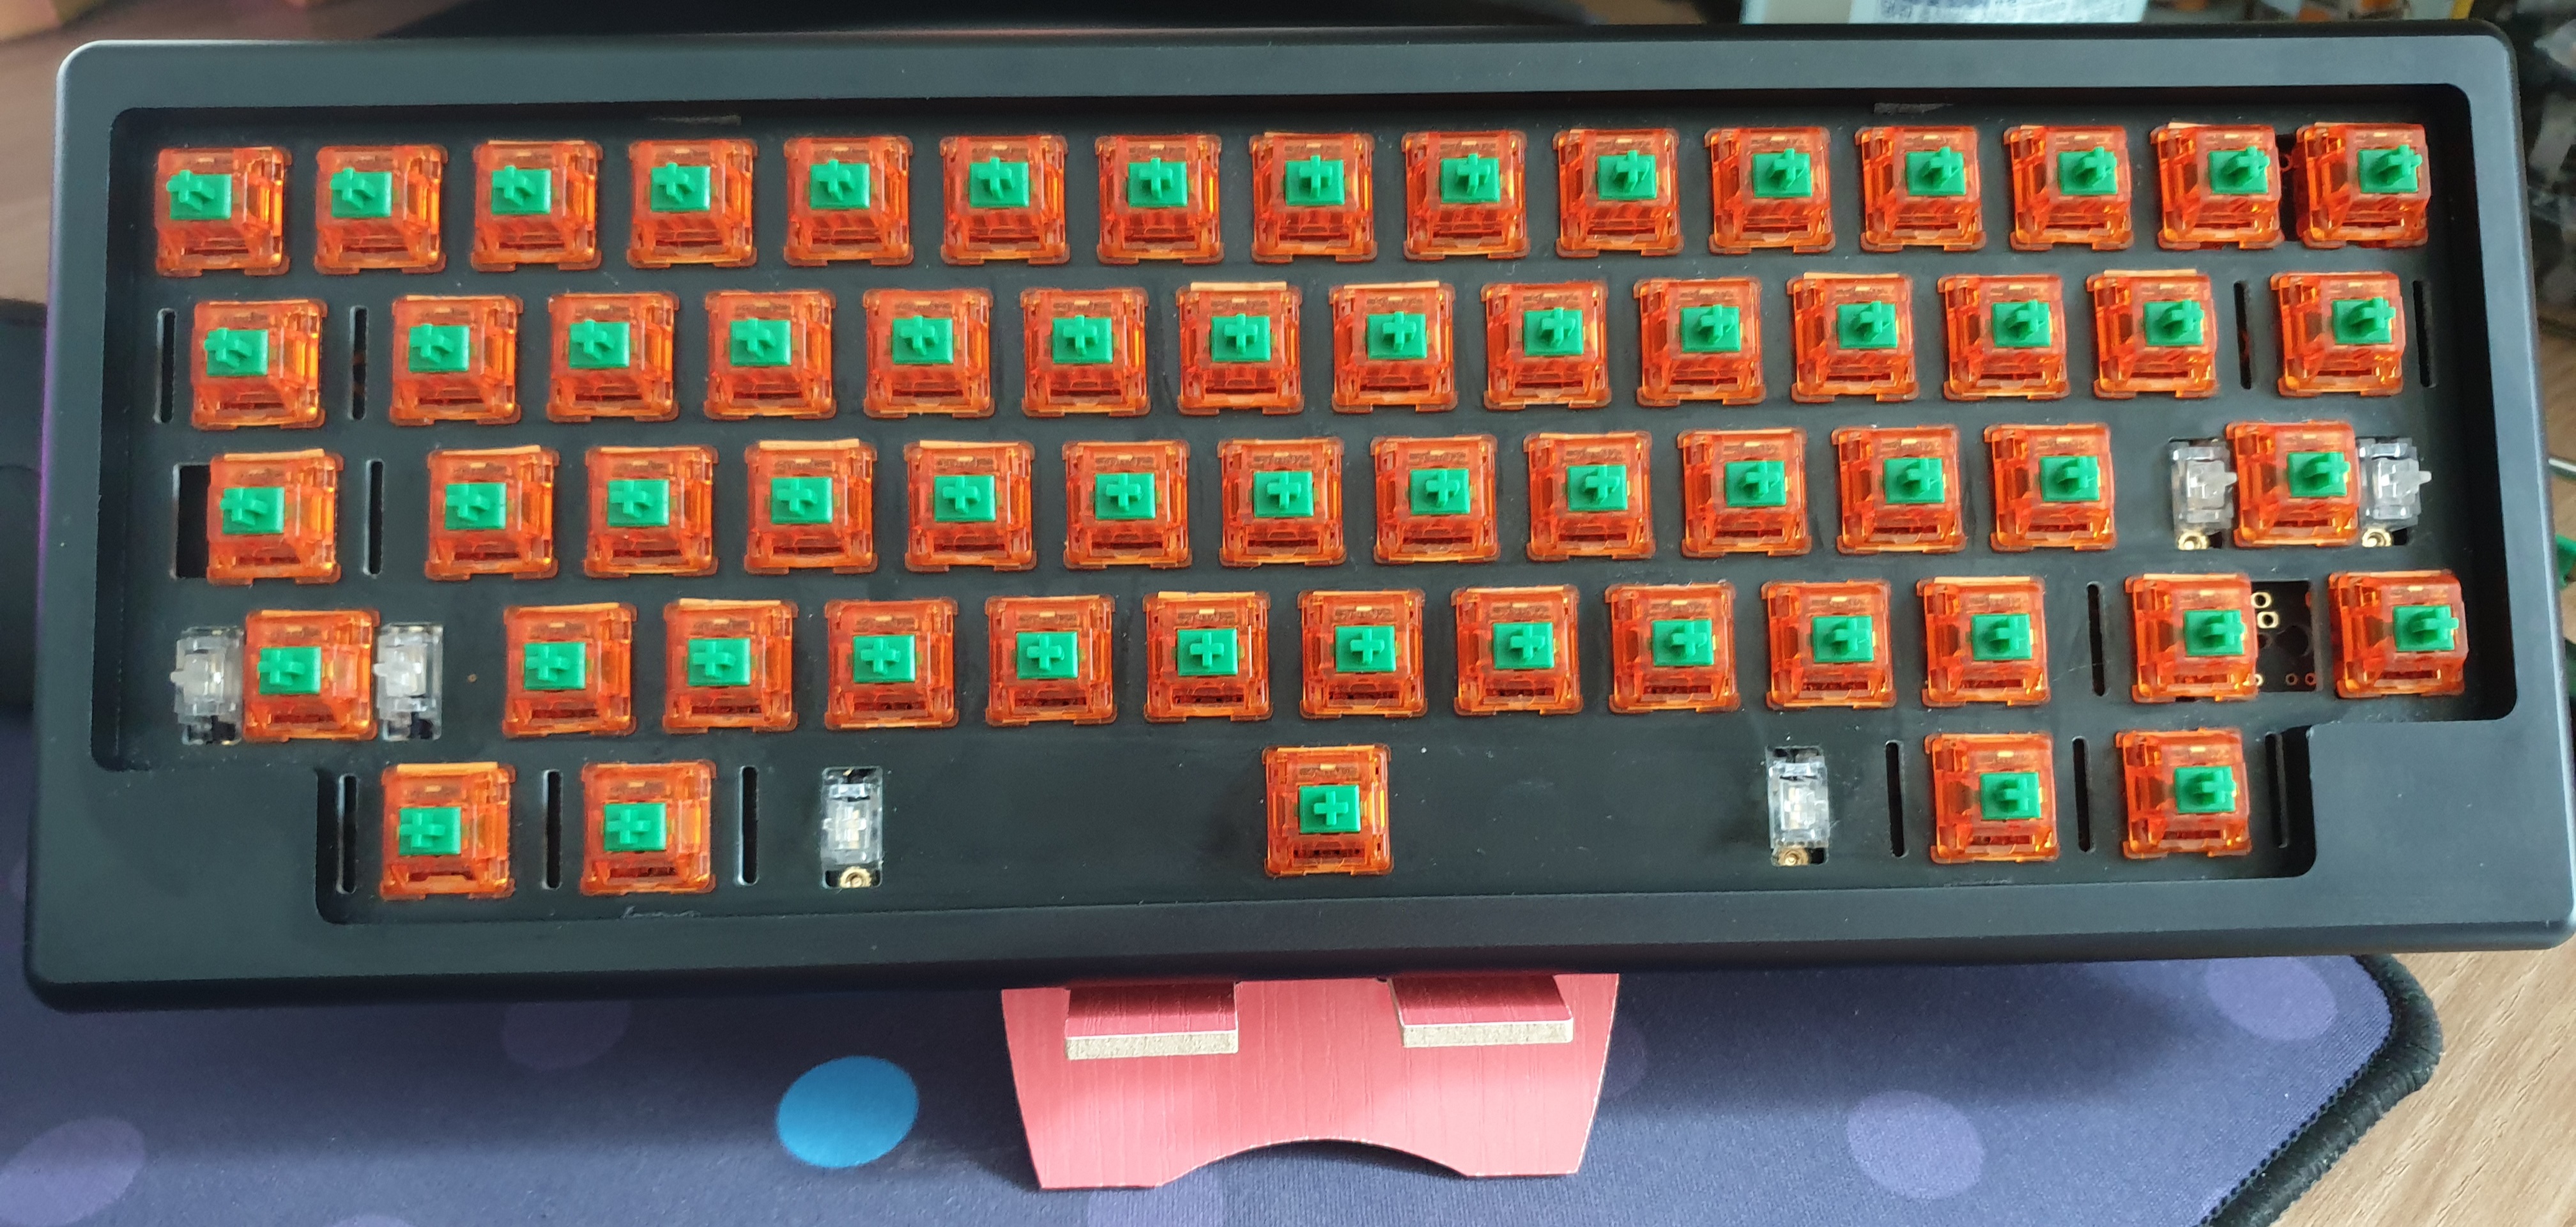
In my time in the mechanical keyboard hobby, I’ve only tried using tactile and clicky switches. For this build, I wanted to try a different type of switch that I haven’t thought of using before. So, I went on the hunt for linear switches, the type of switches that I’ve never tried. After a lot of research, I decided to go with the C3 Equalz Tangerine switches, known to be some of the smoothest linear switches around. Well, they’re just really a recolor of a prominant linear switch from the manufacturer JWK, but that’s beside the point.
I’ve also wanted to try a new form factor. I’ve always thought I needed arrow keys on my board, so 65% was the smallest I could go. So for this build, I thought to go for a 60% form factor, but I decided to take it a step further and go with a HHKB form factor. This form factor is a symmetrical design with the bottom row removing the left and right control keys. Getting used to the split spacebar and the Control key where once the Caps Lock is will take some time to get used to, but I think it’ll work out to something great.
The keyboard plate material and mounting system is also something that I was looking to experiment with. The most conventional plate material seems to be aluminium, and the most widly used mounting system seems to be either tray mount or integrated mount. I’ve used all of these kinds of plates and mounting methods, but wanted to try something different. So for this build, I decided to use FR4, the material used for PCBs, as the plate material. I also decided to go with the top mounting method, complete with O-rings to act as a form of a gasket in between the screws holding the case, PCB, and plate together. The case that I went with came with a stainless steel plate, and there were no plate files that I could use to get my own cut. So, I decided to pull out the calipers, and make the files on my own. Here’s the result of the FR4 plate that I made:
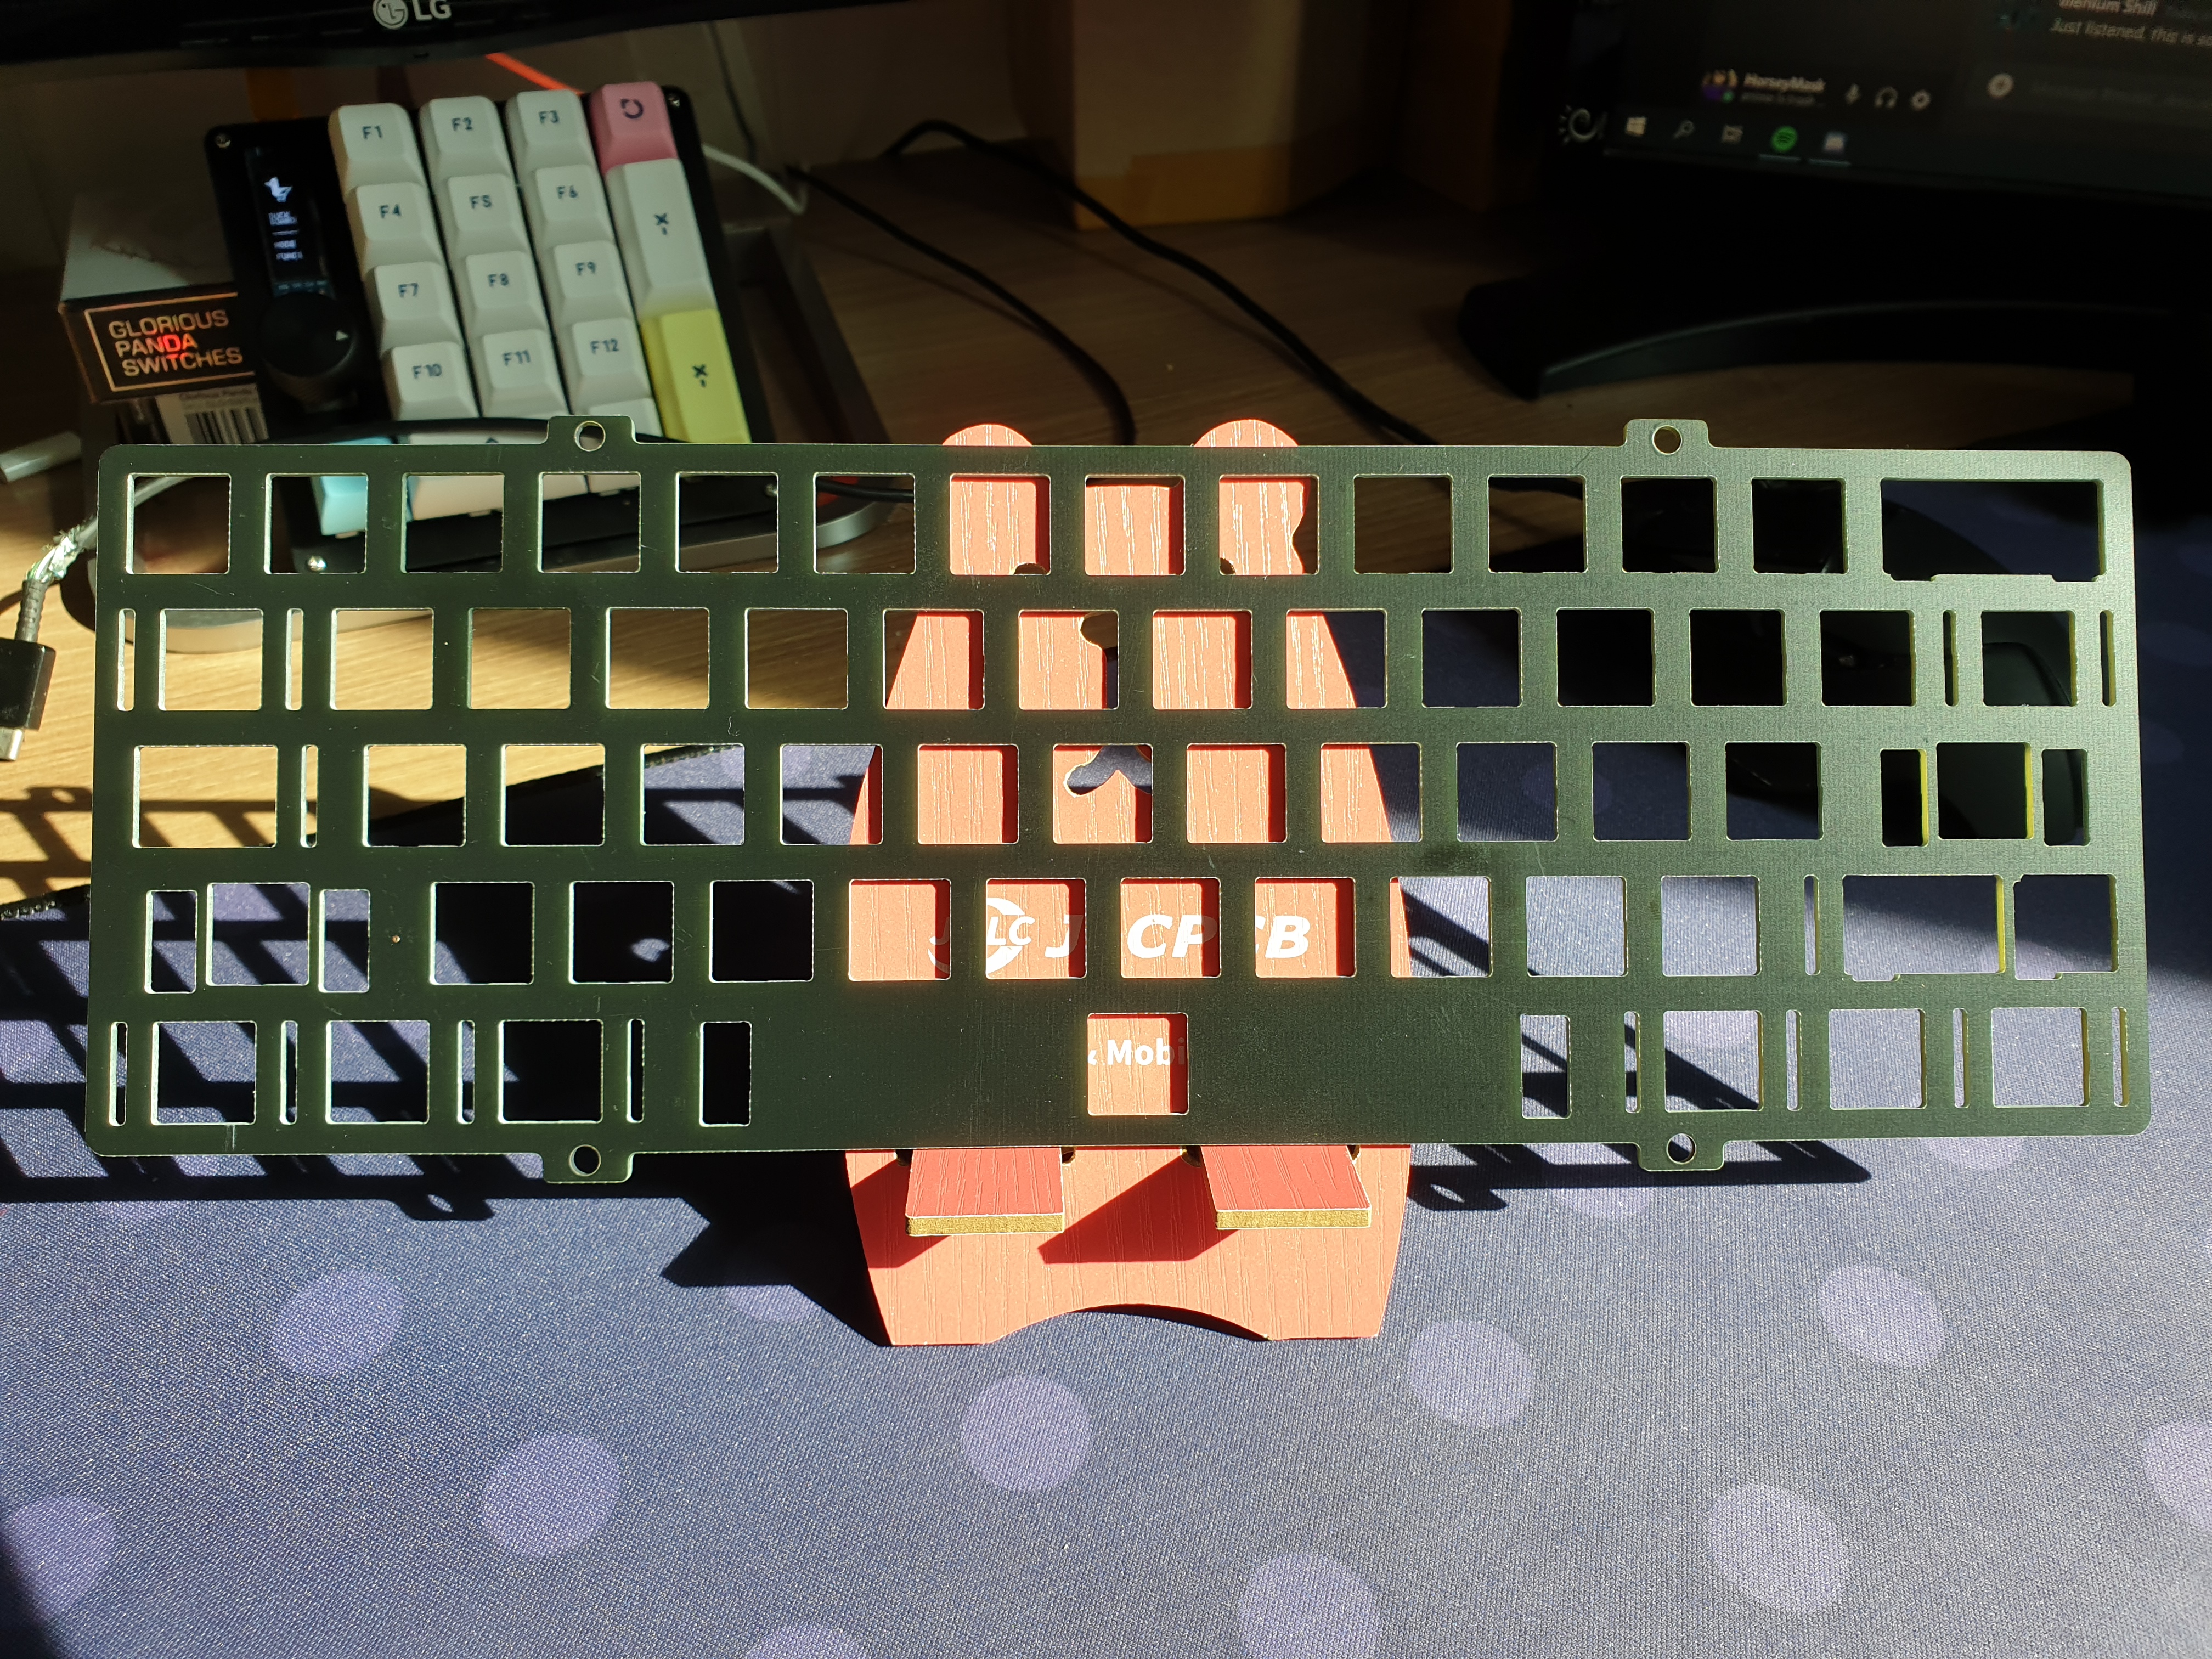
Here’s a link to the files if you so wish to make your own plates. The keyboard case is the HHKB case from KPRepublic.
Finally, the work of actually soldering to put the keyboard together was something new to me. I previously didn’t want to go with soldering my keyboards because I felt that I wanted the freedom to change out my switches easily on the same board. Soldering itself was also a bit of an extra step that I was somewhat scared of to get into. But I always wanted to try soldering as a new skill to have in my repertoire. So for this build, I decided to take the jump and go for it and learn to solder with this build.
All of this involve trying something new, and I think it paid off.
The experience of using the board
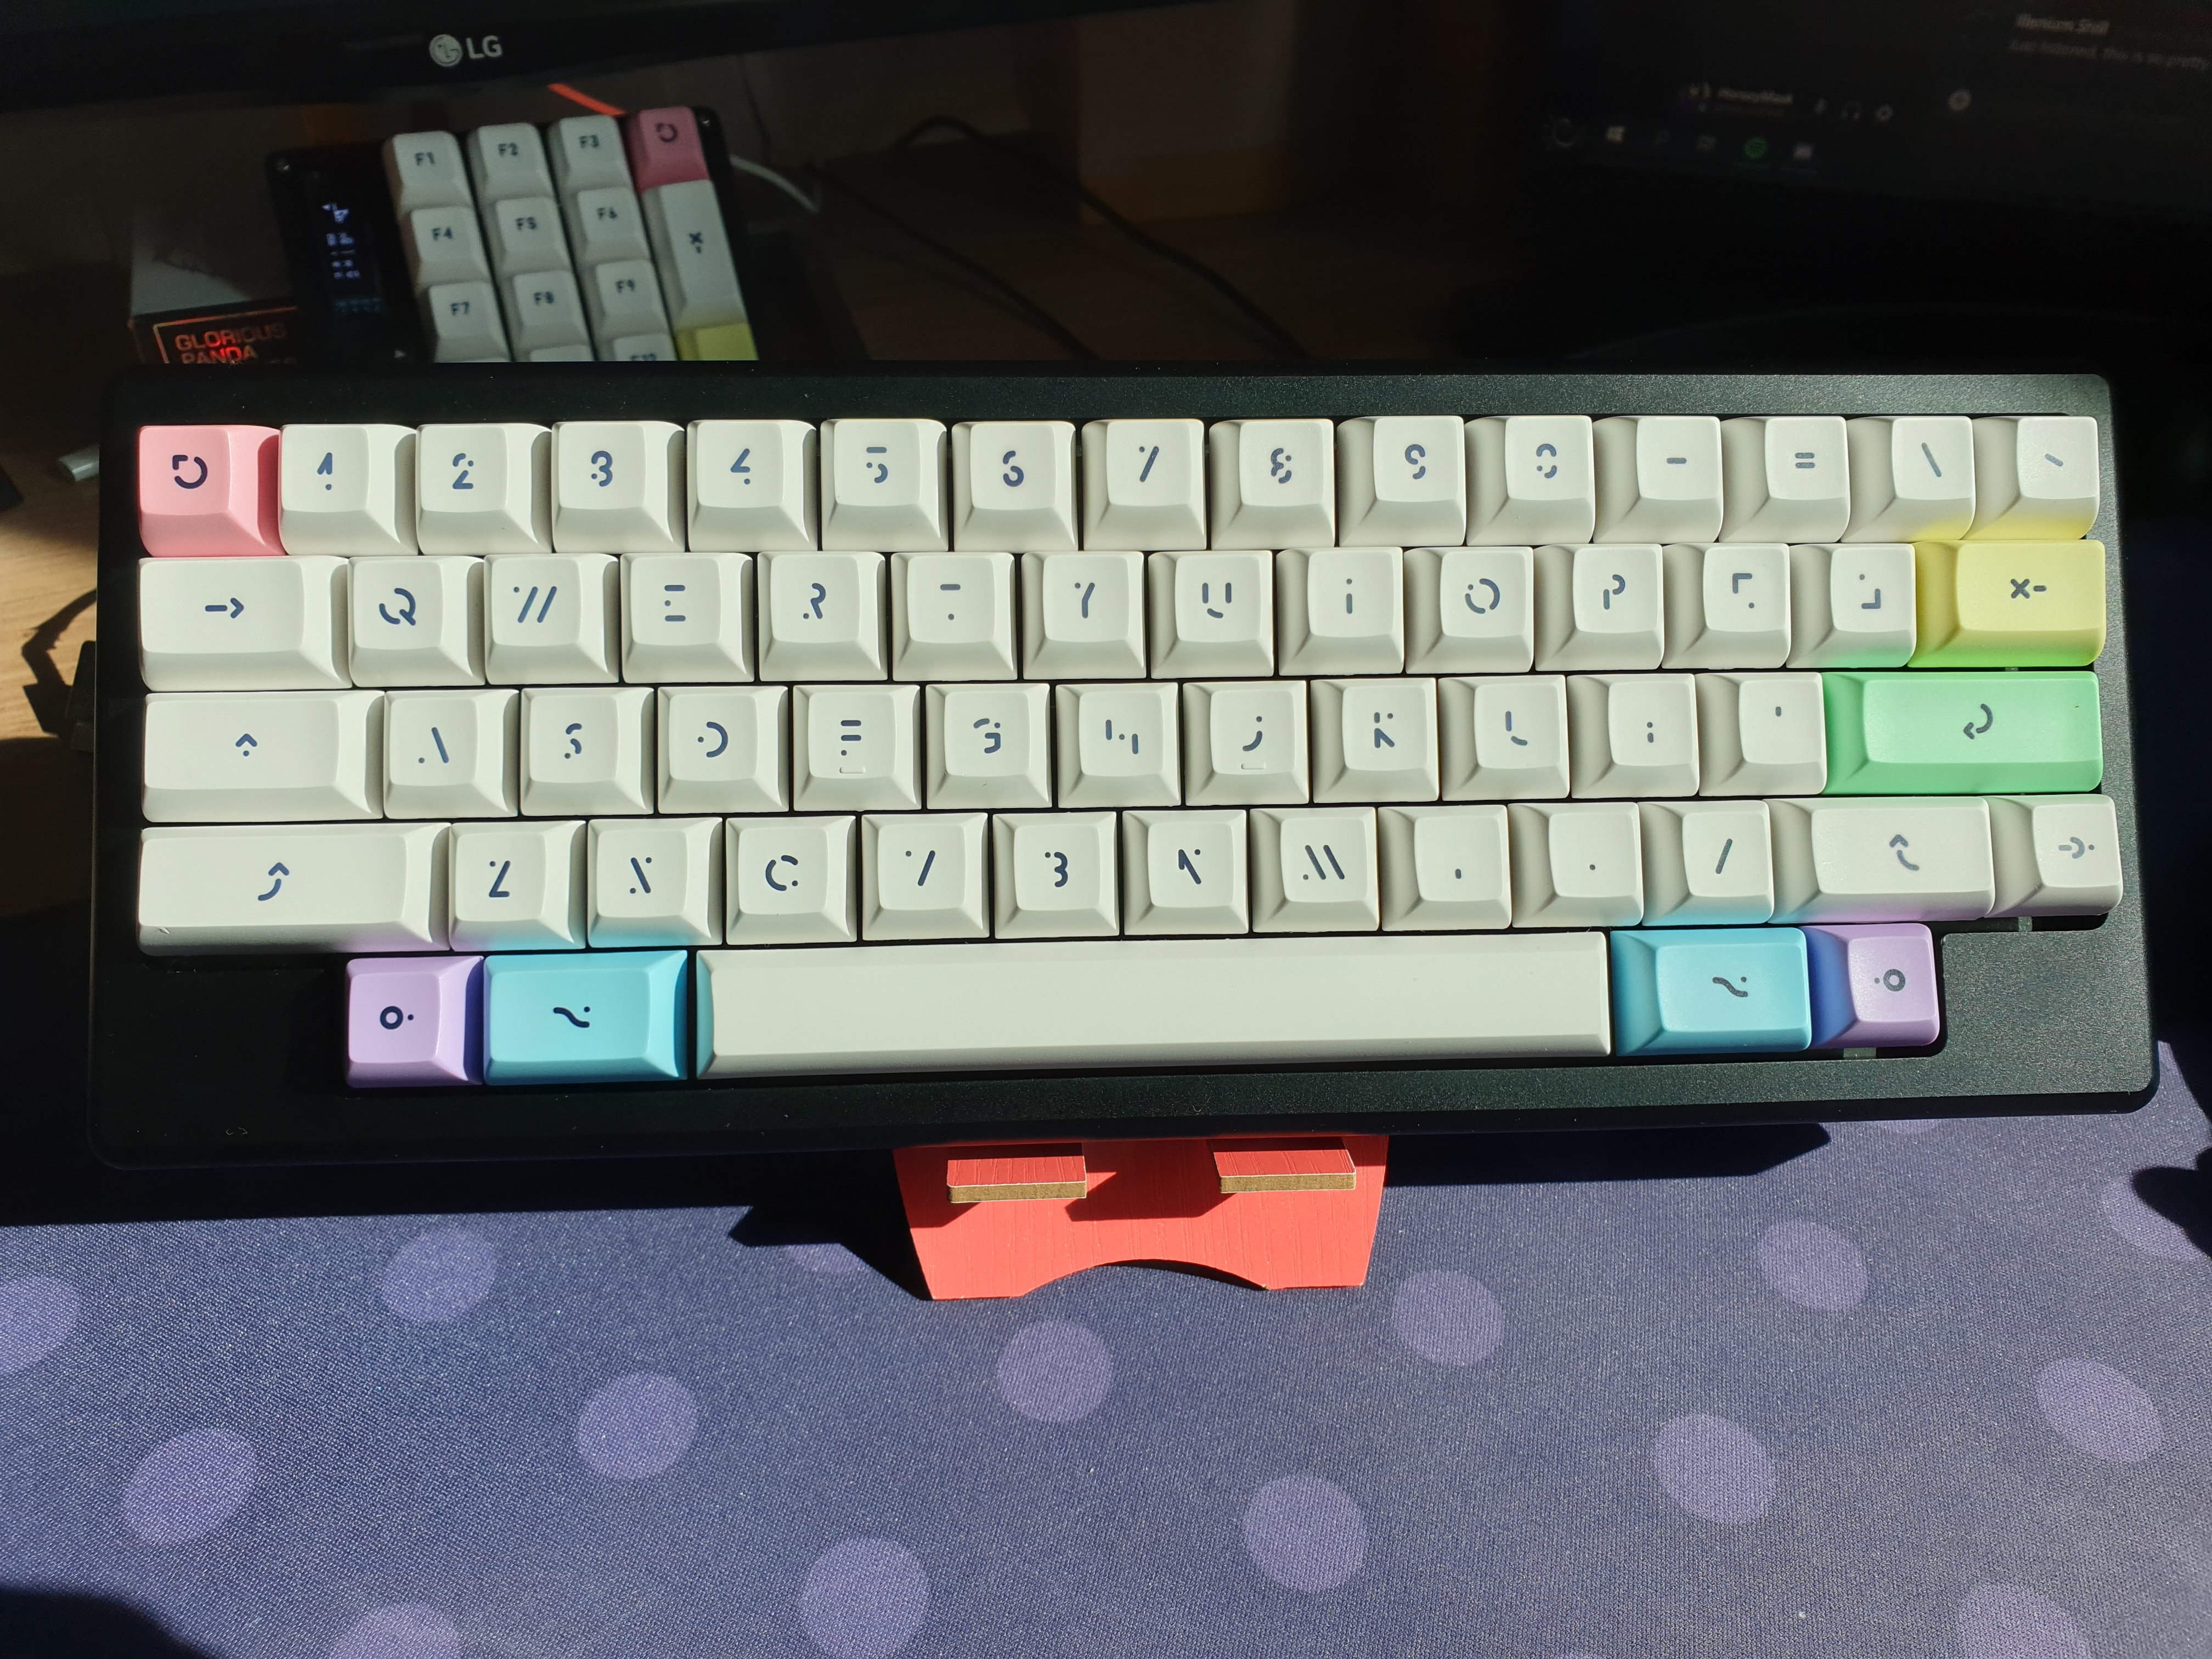
First, the exterior of the build. For how cheap the KPRepublic case is, I think it look great. While there are some imperfections, such as the HHKB blockers being slightly too small, I think it is a great case for the price. An HHKB case with mostly proper blockers and top mount, for less than $90 is quite the killer price. There is some backlight lighting under the board on the PCB, but I didnt mind those too much, as I don’t care too much about RGB.
Now, to the elephant in the room: the actual typing experience. I didn’t know what to expect before I started typing on the board. There it was, a keyboard so wildly different than what I was used to. Different keyboard form fact, different style of switches, and different mounting design. What I did expect was a better typing experience than my previous boards of tray and integrated plate mount.
And I was right. The top mount really helped with making the typing experience feel more consistant across the board (pun somewhat intended). The FR4 plate material also did a great job for a bit more flex in the typing experience, as with the O-rings that were used. All this combined made for quite a consistant typing experience with a lot more flex. I was also very surprised as to how much I liked linears. I was always very partial to tactiles, and scoffed at using linears. Well, with the combination of this board and a premium linear switch… I think I’m sold on linear switches. Or at least, I can properly appreciate them.
As for the sound, the board itself sounds a lot better than I expected. For the price, the acoustics are pretty good, and I do think the foam that I also put in the board is helping with the sound. The keycaps that I’m using with the keyboard also are probably contributing to the sound. The KAT profile that the Milkshakes are using sound quite good and give a more deeper sound signature in my opinion. Speaking of pitch, the Tangerine switches are no deep sounding switch. In fact, they’re quite high pitched. This part of the Tangerine switches is a bit of a letdown for myself, as I think I prefer a more deeper sound for my keyboards. But overall, I think the keyboard sound pretty great. Here’s a sound test:
/assets/audio/2021-02-04horse60/untitled.wav
Overall, I do love how the entire build came around at the end, espically with the money I paid for everything. While there are a few rough areas that can be identified, most of the build came out as well as I would like it to be. Espically with a lot of stuff being made by myself, such as the plate files to make the new FR4 plate made this quite the rewarding experience at the end. I also came out with the build learning a lot of new things, such as that I can like linear switches, and also a plethora of knowledge involving the construction of a keyboard.
Retrospective of the build around half a year in
All right, back to Feburary me. I’m finishing up the writing of this blog entry after quite a lot time due to my own lazyness, but I’ll take this as a chance to give my thoughts on the entire build after around half a year’s usage.
I still love using the board, for all the reasons stated above. I think that it is really a showing of how much you can get for so little in the custom side. While obviously there is quite the price tag for going custom for mechcanical keyboards, the price is still quite managagable for it being custom, espically for the keyboard being top mounted. As for some dislikes from the board that came from using it, the high pitched sound profile of the Tangerines have been a bit draining, even though I have mostly gotten used to it. Also, the low angle of the case also can be an issue for comfortable typing, but it isnt too bad. Just a little nitpicking.
With that, I’ll close out this project and move on to other ones in the keyboard area. I got another good build coming up, and I’ll definitely try to get a blogpost up for that one too, so stay tuned.